Showing posts with label doors. Show all posts

Thursday, October 8, 2020

Bathroom Tour Of Stonecrest Cottage

 This will be a small tour, because it is a very small bathroom.

Immediately to the left as you come in is the vanity sink.  We purchased it from Facebook Marketplace for either $30 or $35.  We also purchased the lights on FM, and paid about the same for them -- happily they included 4 edison bulbs (which we all know cost about $10 each.)  I spraypainted the light fixture silver so that it would blend with the rest of the bathroom.  Oak mirror was leftover from my antiques inventory.

The vanity base was not in good shape.
My contractor did some work on it,
and I found a door off of the used cabinet we had purchased for the kitchen.
I painted, distressed and stained the door to give it some character.

Sadly, the $35 for the sink and vanity did not include the faucet.  I found a local goat milk lotion (which goes with the overall farm animal theme.)  And I am a huge fan of Mrs. Meyers products -- so her hand soap and cleaning supplies will be used in the guest house.

Next to the sink is the corner shower.
I like this style because no wet doors swing open to get the floor wet.
And it saves a bunch of space.

To the right of the shower is the toilet.
We started looking for shelves at antique stores,
and then we discovered this little white shelf in our own inventory.

The chicken pic (remember, farm animal theme!) is from a
chicken magazine from 1926.

Whose bright idea was it to use piping for an industrial look?
It would be embarrassing if I had to confess how much just
these two towel racks cost.  

Lastly, to round out the tour is the vintage door.
It was chippy, which I do adore.
But I did not want anyone worrying about lead poisoning.
So I sanded, stained, and used a clear finish on both chippy doors.

Tuesday, September 15, 2020

Front Porch Tour Of Stonecrest Cottage

 We are basically on the home stretch with Stonecrest Cottage Guest House.  The porch is done.  I may add a string of lights, and next year we will be adding some plants. But we are calling it good.  I want it to be simple and sustainable.

We tried very hard to use what we had.
We already had the bench.  It will be handy to sit on while people remove their shoes 
(wishful thinking?)
I also find it handy to set packages by the door while I unlock.

My husband made this tray a few months ago,
as well as one for our own "mud room".
(Corona Virus Isolation Project #10).

These motel chairs were sitting in our chicken run, they like this location better.
The mesh table and milk crate are all leftover from my antique stock.
Even the cattle fencing were segments left on our property when we bought it.

I will probably end up painting the chairs.

We have had the porch swing for awhile.
It is oak and STURDY.
The indoor/outdoor rug was from out NW Missouri house.
I mentioned the quilt in one of my last blogs -- I saved it from the brink.

The front door was left from the previous owner in our garage.
We just added some detail and paint.
Even the straw mats are not new -- 50 cents each at a garage sale.

The wagon wheels on either side of the steps we did actually buy for this project.
$5 for the pair. My husband and son rolled all of these huge rugs into place at the base of the porch. Next spring the flowers will go in front of the wheels and 
on the sides of the porch.  

I can see guests (and us!) really hanging out on this porch.

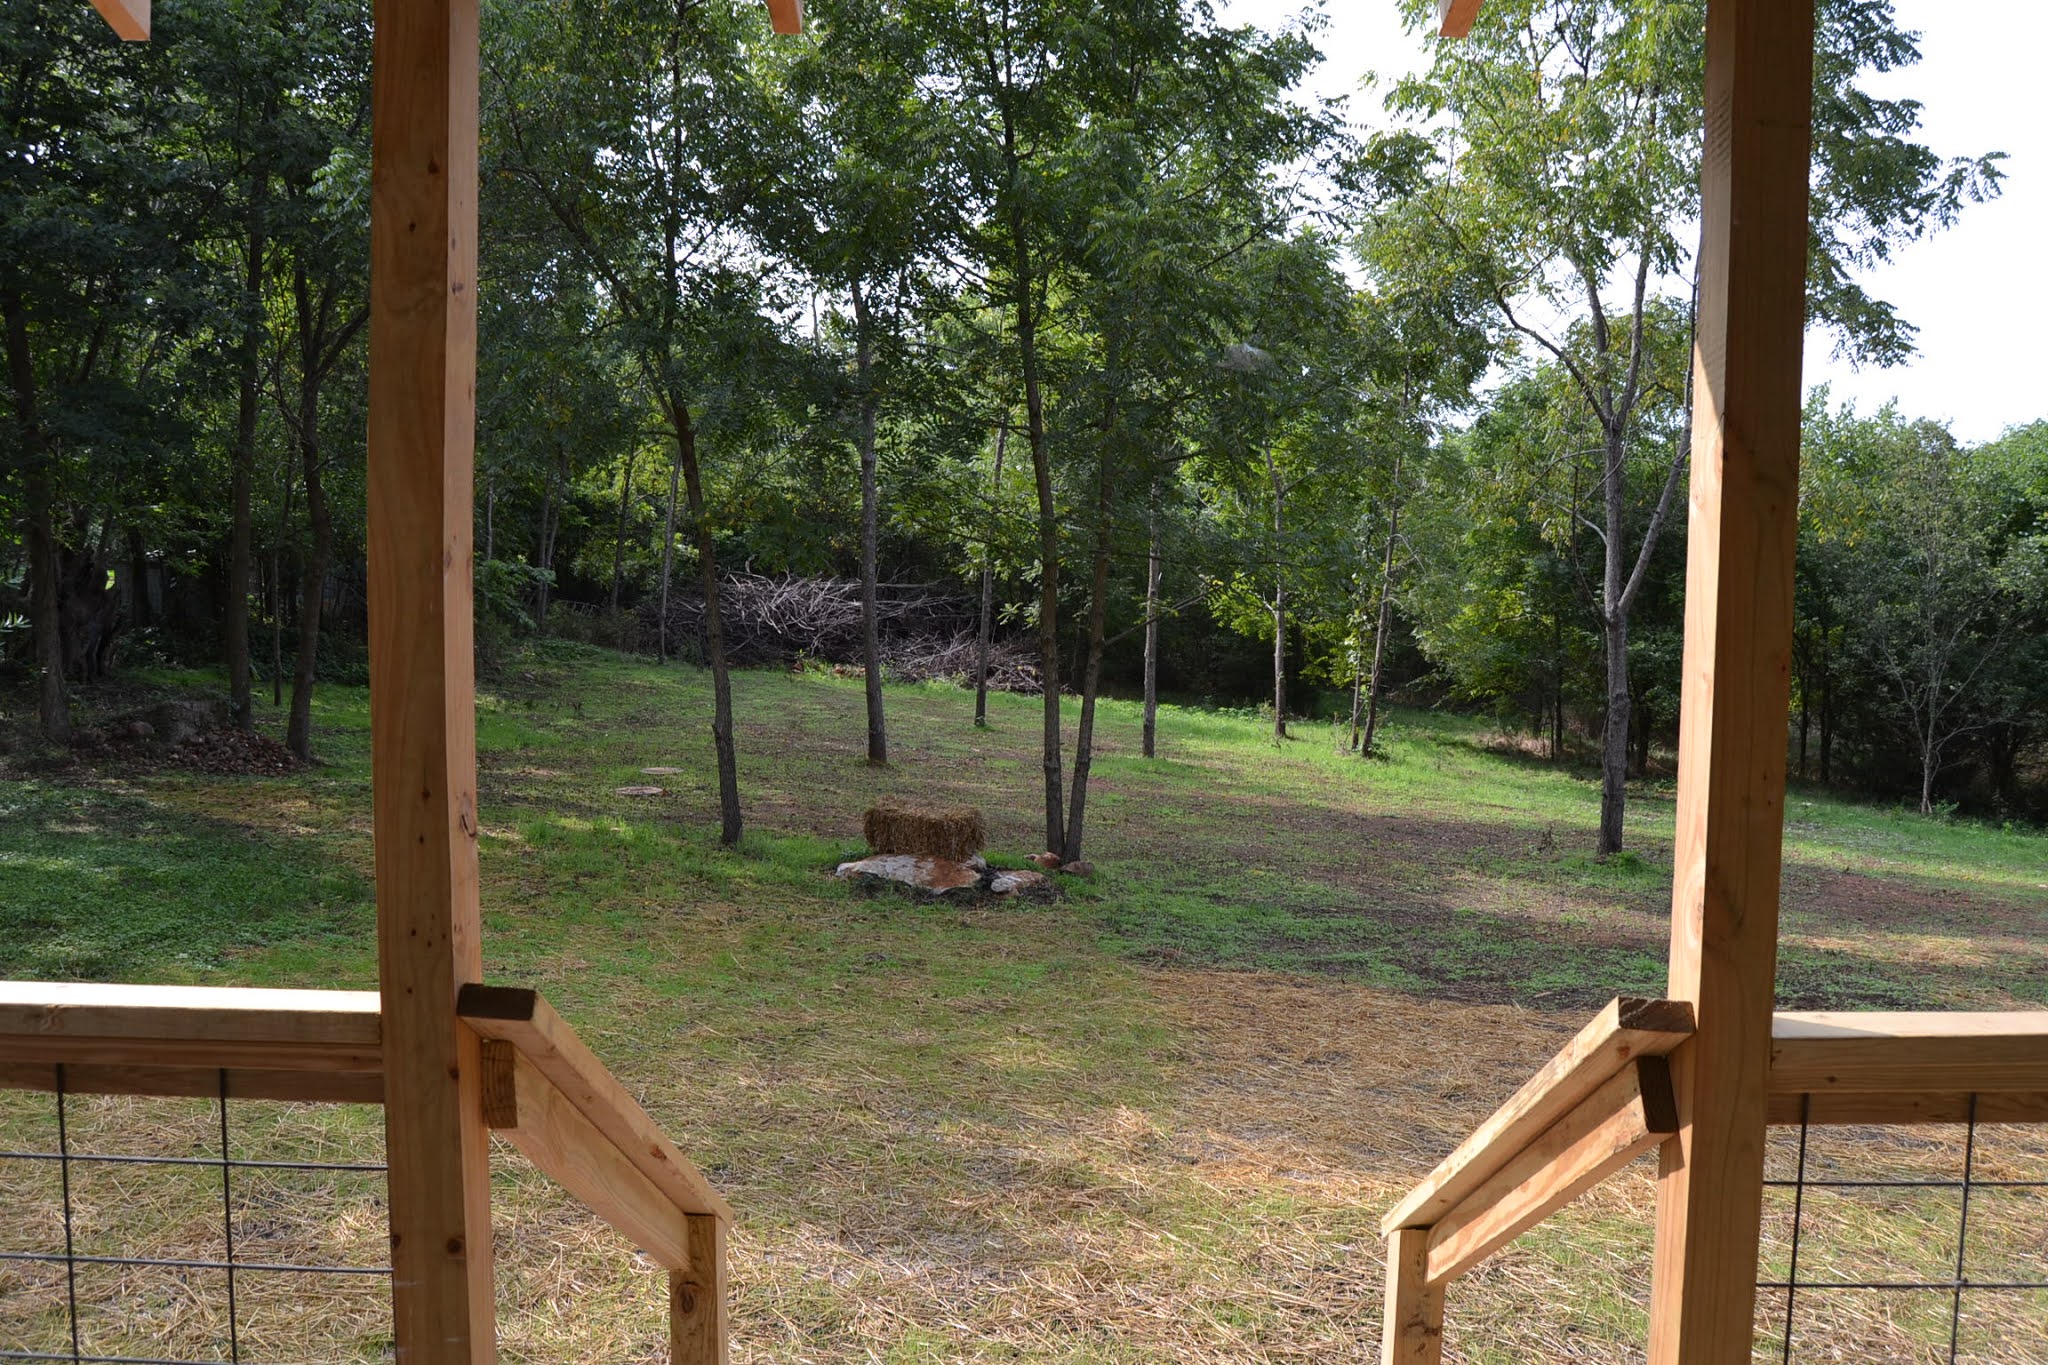
And lastly, this is the view from the porch.

Sunday, June 21, 2020

Guest Cottage Interior Door Hardware


My contractor was able to locate three old doors for the interior of the guest cottage.
But only this one was sporting old hardware, which meant that we had to come up with working vintage options for the other two doors.

 I sifted through my dwindling stash of vintage hardware
and found two pairs of backplates which helped.

And we found the doorknobs at a favorite antiques store.
Everything came together beautifully.
The crystal knobs grace the bathroom door.

Tuesday, May 26, 2020

Painting The Guest Cottage Front Door

 We perused facebook marketplace.  We were looking at antique stores (this predates the "Big Quarantine"). I even looked at a company in Springfield that crafts high end custom wood doors in vintage styles.  What we wanted was a front door for the guest cottage that had some character.  Solid. With a window. And that we could afford.

Then my husband was digging through my stash in my shop and found one.  Yep, I already had one.  Maybe not as old or full of character as I desired -- but you can't argue with FREE. To add character we found some old scalloped trim pieces (yes, also in my shop) and attached them to the top and bottom of the window on the exterior side of the door.

Then we choose Home Depot's color of the year -- "Back to Nature" to paint the exterior side. Another piece of the guest cottage puzzle done.

Wednesday, May 6, 2020

Sliding Door For The Guest House Bunkroom

The bunkroom will be just large enough for two built-in bunks and a little standing room beside the beds..  There is not room for a door to swing in.  And with two other doors opening out to the tiny "hallway", there is not room for another door to swing out either. So we decided on a sliding door, one with history of course.

First I "shopped my shop" where I keep things for resale, no luck.  But after clearing out my outdoor antiques booth, I found this door.  It had been camoflauging the top of a modern plastic folding table in my booth.  I had forgotten that I had it.  I had used it for that same purpose for over 6 years.  Time for it to shine.

First it was a little too narrow.  So my husband made one more "panel" and attached it to one side.  Then I mixed about a 50/50 paint-to-water wash.  I only did one long "panel" at a time so that I could quickly go back over it with a rag and remove any excess paint.  That helps to give it something of a transparent effect. After letting it dry, I went over it lightly with a palm sander.  Then I quickly brushed on a stain and instantly removed it.  That way the bare wood peaking through has some character.

The "smooth" side will face the hallway area.  The side with horizontal bars will face the inside of the bunkroom.  I think both sides look interesting.

Saturday, March 7, 2020

Hunting & Gathering For The Guest Cottage


 I have not been very good about posting my finds for the guest cottage.
I got two of these lanterns for the exterior of the cabin,
they were on clearance at Lowe's.  I think I paid about $30 each.

These are actually chicken coop warmer lights,
they will be the lights over the kitchen counter area.
$120 at an antique store.

A good reminder that you should always shop at home first.
My husband scrounged around and find two barn doors in
our own shop.  This one will be the queen size bed headboard.
The other will be a rolling door for the bunk room.
I don't recall what we paid for them, not much because
I bought them for resale.

 After frantically looking for the perfect old front door,
he found one buried in our shop.  I will add a bit of
pizzazz to it, and it will be great.  This was here
when we moved in -- FREE!

 Love seat from thrift store -- $100.
UPDATE: this loveseat was too big.  We ended up ordering a new one from Overstock.com.
Left is sink for bathroom $30 from Facebook Marketplace.

This will be above the porch roof to let more light into
the kitchen / living area.  $200 from an antique store.

Saturday, November 23, 2019

Front Door Problems Solved


 I have had two posts about my front door problems.
I am pleased to say that the new (old) door is in place,
as of last week.  My handy guy Kyle did have to work
about 3 hours to get it all properly fitted however.

 We are loving the look.
We are loving the fact we don't skin our knuckles every 
time we open the door.

We are loving that it actually OPENS.
And we are loving all the light that comes through.

Tuesday, October 1, 2019

Front Door Problems Part II


 Yes, we are still working at replacing our front door.
Progress:  we decided on different doorknobs
(found these in our shop.)

 Progress: the non-working mortise lock
got replaced with one that is almost the same size.

Progress: I didn't like the shiny finish I had applied earlier, 
so I sanded down and did two coats of hand
rubbed poly.  I think I will do one more coat.
Problems:  * I still have the other side to do!
* I still have to get on our Handyman's radar -- he will
need to find old looking hinges and figure out how to hang
a door that is 1/4" too small for the opening.

Thursday, September 5, 2019

Front Door Problems Part I


Our front door has kind of a cool look,
but it is not original to our house.
It has a sludgy mold on the exterior that I knew I would have to tackle if we kept it.
It has never fit the opening well,
and lately (with humidity) the entire thing has warped.

The doorknob is so close to the casing that it actually touches.
And now, we actually can't get it open because of the warpage.
Stick a fork in us.
 We are done.

So we cruised craig's list and facebook marketplace,
and came up with a door that we thought fit the look of our house
(looks great with our windows.)
Only $80.
But did you think it was going to be that easy?
No, no, no. Of course not.
First of all, the finish on one side was all scratched up,
and if I was going to refinish it - now was the time.

 LOTS of sanding.  With the orbital sander, and by hand.
Then staining with a dark walnut stain to obtain the deep color I wanted.
(Two coats of this, and spots with a third application).
A thin coat of polyshade -- brush on and immediately wipe off.
Then a regular final coat of polyshade (brushed on and not wiped off).
(Time for each step to completely dry, and trying not to work on
days above 90 degrees made all of this this long and drawn out.)
😠
I hated it.  The final coat was all streaky --
probably would have been fine if I had done another thin coat of polyshade instead.
Argh.
Wait for the frustration and heat to subside.

More sanding.  First by hand -- not quite enough poly removal.
Then with orbital sander.  Then by hand to try to get rid of orbital tracks.
Just one coat of walnut stain needed this time.
And I've done one thin coats of polyshade (wiped off right after application).

Still to solve:
-- non-working mortise lock that is a strange size
-- door is 1/4" shorter than opening
-- workable door hinges that at least look old

Sunday, July 8, 2018

Primitive Old Doors At The Ozark House

While I have been doing general up-keep on our northern house
(waiting for it to sell), my husband has been hard at work at our Ozarks house.

 The upstairs only contains the master bedroom and bath,
we wanted it to be a "cat-free" zone.  How to do that?
The stairway is right off of the tiny kitchen, and we didn't
want the kitchen to appear even tinier -- having a heavy door to the upstairs.
So this was our solution -- an old screen door.
My husband replace the screen on the bottom with
pressed tin ceiling tiles (in case the cat with claws gets any ideas.)
Perfecto!

And my husband thought that the "milk shed" needed a sliding barn door.
And somehow, he made that happen!
How cool does that look?

Wednesday, November 22, 2017

Victorian Antique Door Bell Ringer


The first time I ever saw one of these I fell in love -- that was over two decades ago.  Wouldn't it have been nice if  our Victorian house would have  had a door ringer like that?  I came home from my road trip and checked -- a filled-hole smack in the center where a ringer would have been.  So, I am convinced that once upon a time our house did have said door ringer.

I priced them on ebay.  Out of my price range.  I wanted an authentic one.  About five years ago I came across most of the ringer pieces at an auction.  I bought the ringer at a decent price, but knew I needed someone handy to work on it.

That is where my brother came in.  I sent the ringer to him a few months ago to work on.  And this week he was passing through long enough to install!!  This was item on my house "to do" list.  I feel like this house has wanted it's house ringer replaced for a long time.

 The brass eastlake motif of the bell .... 

blends seamlessly with the existing eastlake hardware,
that has been on the front door for 120 years.
It seems like a sweet farewell gift to our house.

Blue Hearts & The End Of My Blog

Early on during the corona virus, I did this project. When we put scalloped wood trim on the guest cottage door, we had some of the trim ...