Showing posts with label ornaments. Show all posts

Sunday, June 30, 2019

Sunday Flea Finds


 We did pretty well at the flea market this morning.
The last couple Sundays it as been rained out,
so it was super busy today.

 The quilt was packing in some guys pickup,
but he agreed to sell it to me for a big $2.

 I paid $40 for all the Christmas stuff,
but I usually do well with holiday items.

 Nice firkin for $15 which needs a little work.

 This was my husband's "find", we live near the old Frisco line.

Olive green mason jar, which always do well on ebay.
Bought for $4, sold for $26.

Tuesday, November 20, 2018

Garage Sale Finds In Mid-November


I am still adjusting to living in a new area.
Things are just a little different.
Like having yard sales in the middle of November,
on a lovely 60 degree day.

This painted folk art bowl was hands down my fave find.
I am putting it on ebay after enjoying it for the holidays.
(It may be my only Christmas decoration this year.)

I was thrilled to find vintage Christmas
stuff for my antique booth.
(I have set up a temporary Christmas work center
in the cellar, that you see in the background).

I bought an entire tub of old ornaments.
Super fun to sort through it all.

The nicer ones in this photo came from
Wildflower Vintage Market
(featured here in my last post.)

Friday, November 16, 2018

Stenciling Your Own Vintage Ornaments Tutorial


Last winter I got the notion to stencil on ornaments.  Not just any stencil.  I wanted the vintage ornaments to look like the old-time Shiny Brite stenciled ornaments.

Surely someone has made stencils for that purpose?  And, wouldn't you know?  We can always count on Martha Stewart.  She may have more than the ones I found on-line, but I was just happy to have come across these.  I knew the stencils needed to be small, flexible and have adhesive on the back.  Thank you, Martha.  You knew just what I needed.

I ran out of time last year, so I only recently had a chance to try out these little beauties.  I tried them this first time around on medium shiny brites.  Next time I am going to try larger ornaments.  I used a flat white house paint sample I had on hand, and it worked very well.  As usual with a stencil, load the paint sparingly on the brush and dab off excess on newspaper before lightly dabbing a thin layer of paint inside of the stencil.

While the paint was still wet, I sprinkled it (with stencil still applied) with fine white glitter (again,
to simulate a stenciled shiny brite).  Martha advises to take the stencil off while wet, but I did not read directions until later.  It was fine taking it off after it was dry.  (Martha also wants you to use her special Brush and Stencil Cleaner afterward.  That makes me laugh.  She is so intense.  She also says "Attach backing to stencil and store".  I am surprised she didn't tell us where to store it.)

Sunday, October 28, 2018

Moving Into A New Antique Mall

 Moving is hard.  Finding a new church.  New friends.  New doctor.  New grocery store.  New antique mall....really that was a hard one.

We talked to people and visited several antique malls.  But it took some actual shopping for antique furniture for our house to discover the best fit for us.  We had several shopping trips to an area in Ozark, MO that had several antique stores close together.  It seemed like whenever we needed something we had to do "speed shopping" and it was handy to have a few antique stores in one basic location.  That's how we landed on our new selling "home" .... Camp Flea in Ozark, MO.

The Camp Flea mall is located just off hwy 65 south of Springfield 9 miles or north of Branson at the Jackson Street Exit under the big "ANTIQUES"sign.  Either direction it is the second Ozark MO exit.

People pass right by it on their way to Branson, so the location is great.  I asked about booths for rent, and the manager asked me some discerning questions to figure out if I was cut out for one of the front booths.  After looking at some pics of past shows and booths, I passed the mustard.  

 So if you are ever in the area -- look for my "Saturdays" Antique Booth right across from the front counter.

 We moved in Saturday so that we could be "settled" for their Christmas Open House the first weekend of November.  

 Of course, vintage Christmas is no problem for me. Just getting the booth painted, lighted and furniture moved in -- that is the hard part.

Monday, November 27, 2017

My Favorite Antique Christmas Ornament


 I mentioned before that it has been several years since I
have put up a Christmas tree. My daughter-in-law
offered to help me hang our antique Christmas ornaments this year.
It had been so long since I have seen these beauties, that I kept
oohing and aahing as we unpacked each little treasure.
Like the icicle above with four indents.
It has to be my favorite.

 I have several of the teardrop ornament on the left.
And several of the gold indent on the right.
I love both designs.  And I have several clip-on
bird ornaments.  This one may be my favorite.

 I have several grape cluster ornaments.
This one is interesting because it isn't opaque.
It may be my favorite.

Shiny Brites make my heart race,
and the clear ones are ... my favorite.
I love the old glass garlands,
and this interesting one is (you guessed it)
my favorite.

 This plastic UFO ornament was my mother's,
as was the multi-color garland in front of it.
Both are definitely -- my favorites.

 I have a special affinity for icicle ornaments,
and you may be surprised to hear --
this fragile twisted glass ornament is my favorite.

 Ten years ago I made several icicle ornaments from
old jewelry and broken mercury glass garland beads.
This one was my favorite.

I guess that is why people go to the effort of putting
up a tree year after year.
A joyous reunion with all of their favorite Christmas ornaments.

I am taking a blogging sabbatical now through all of December.
I'll be back in January.
An early "Merry Christmas" to all of  you.

Friday, November 24, 2017

Refurbishing Shiny Brites Tutorial


Let's talk Shiny Brites.  You know, the ornaments.  Some of my VERY favorite are the clear ones.  Someone told me that these were manufactured during WWII.  I like that you can see the twinkle of the lights through them.  I like the fake frosty snow on them...
But WWII was awhile ago, and even if they haven't been used every Christmas for the last 70 years -- they still can show a little wear.  Or look very tired like the ones above.


I did a tutorial a couple of years ago that works great if you have plain colored Shiny Brites that have chipped color, or are a little dingy.  Click here to read that post.  But that transformation will not work on these clear ornaments.

So I have tried a couple of things, and maybe you can learn from my experiences.  Last year I tried using a small paint brush and applying glue to the area of "snow".  Then I liberally sprinkled on vintage "mica" snow and left it to dry.  The result wasn't bad, just a little "chunky" (chunky snow ornaments in foreground".)

This year I painted the "snow field" with clear glittery fingernail polish (a little more control than with Elmer's glue).  Then liberally sprinkled the area with fine white glitter from Michael's.

 I think I like the results more than last years.
(The one on the right is done, the left is not done.)

Monday, December 5, 2016

Spool Christmas Ornament Craft

When I get together with my niece, we always do a "craft".  Prior to spending time with her, I did not associate good things with the word "craft".  Tacky plastic cross-stitching kind of things. 

I admit, with an art degree, I might be a bit of an art vs craft snob.  But then my niece decided she was into "crafts" and the word took on a whole different feeling.  Fun.  Messy.  Glittery.

She and I went to a "Holiday Craft Show" (I barely even grimaced as I typed this) last weekend.  We spied some cute little spool ornaments on a tree, and I whispered to her that that would be our next "craft". 

I had the spools, vintage beads, Christmas music and glitter that we needed.

Sunday, November 6, 2016

Christmas Ornaments From Local On-Line Auction

Last night I picked up the items I won from a local on-line auction.  I only won eight "lots" and only spent about $60 -- pretty lightweight for me.  I was tickled to find the lot of "Christmas Décor" that I won was bigger and better than in the auction photo.  I wondered when I bid if the two boxes shown were all that there was.  HO HO -- NO!

I can't remember if these were from Austria or Poland --
but they are all hand painted and look to be part of an original set.

These were smaller, and had some simple designs.

Three toned Shiny-Brites -- lovely.

This is one of the two boxes of ornaments that I could see in the
original photo.

The four "super oldies" in the box.

Simple solids, with beautiful packaging.

Twelve red torpedo or icicle ornaments.

Giant hand-painted ornaments.
Sigh.
Time stands still when I am sorting,
packaging and pricing my vintage ornaments.

Saturday, November 28, 2015

Christmas Vintage Booth At The RUsty Chandelier

My antique booth at the Rusty Chandelier doesn't usually merit a posting.  But last week I brought in the Christmas bling.  WOW factor.

The ornaments look so great bunched together.
And they have been flying off the shelves.
I sold tons before I thought to take photos.


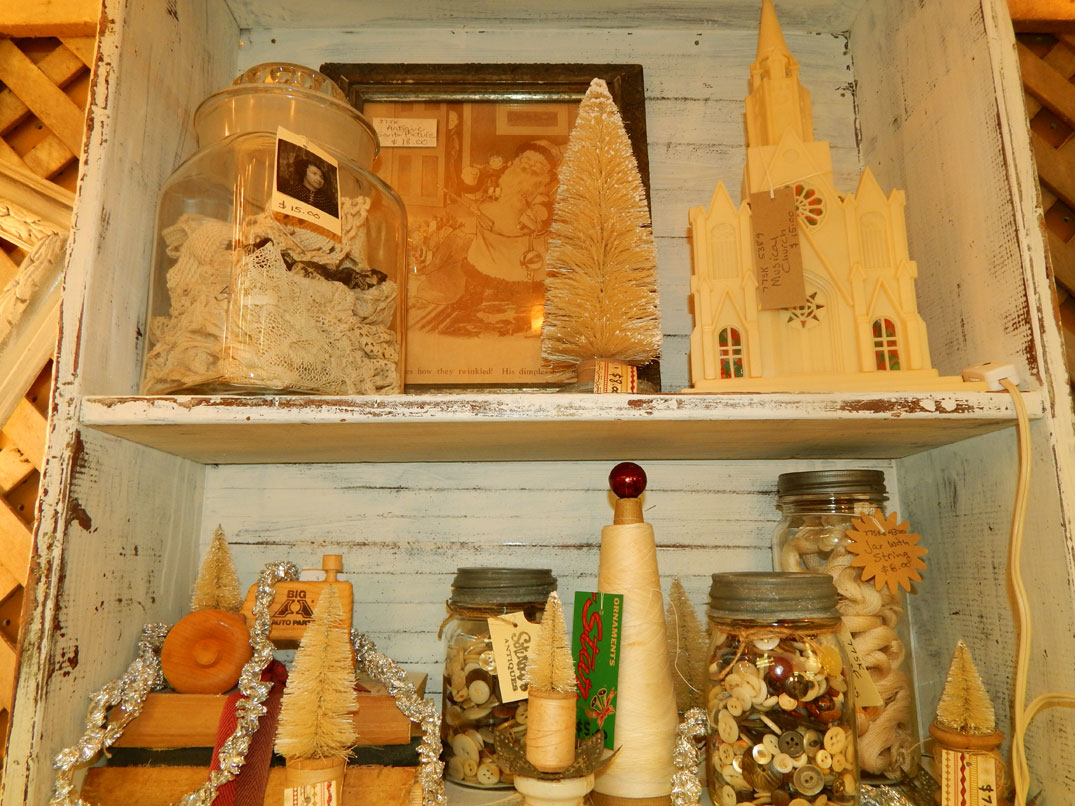
Here are some of my bleached bottle brush trees.
They have also been selling already.
I have more in a bleach bath as I write this!

I always have a Christmas area for the people
who only do whites.
 
I saved the best for last.  I managed to corral a huge population of blow-mold
Santas this year -- I decorated my booth header with the smaller ones.
 

Blue Hearts & The End Of My Blog

Early on during the corona virus, I did this project. When we put scalloped wood trim on the guest cottage door, we had some of the trim ...