Showing posts with label stamping. Show all posts

Tuesday, September 15, 2020

Front Porch Tour Of Stonecrest Cottage

 We are basically on the home stretch with Stonecrest Cottage Guest House.  The porch is done.  I may add a string of lights, and next year we will be adding some plants. But we are calling it good.  I want it to be simple and sustainable.

We tried very hard to use what we had.
We already had the bench.  It will be handy to sit on while people remove their shoes 
(wishful thinking?)
I also find it handy to set packages by the door while I unlock.

My husband made this tray a few months ago,
as well as one for our own "mud room".
(Corona Virus Isolation Project #10).

These motel chairs were sitting in our chicken run, they like this location better.
The mesh table and milk crate are all leftover from my antique stock.
Even the cattle fencing were segments left on our property when we bought it.

I will probably end up painting the chairs.

We have had the porch swing for awhile.
It is oak and STURDY.
The indoor/outdoor rug was from out NW Missouri house.
I mentioned the quilt in one of my last blogs -- I saved it from the brink.

The front door was left from the previous owner in our garage.
We just added some detail and paint.
Even the straw mats are not new -- 50 cents each at a garage sale.

The wagon wheels on either side of the steps we did actually buy for this project.
$5 for the pair. My husband and son rolled all of these huge rugs into place at the base of the porch. Next spring the flowers will go in front of the wheels and 
on the sides of the porch.  

I can see guests (and us!) really hanging out on this porch.
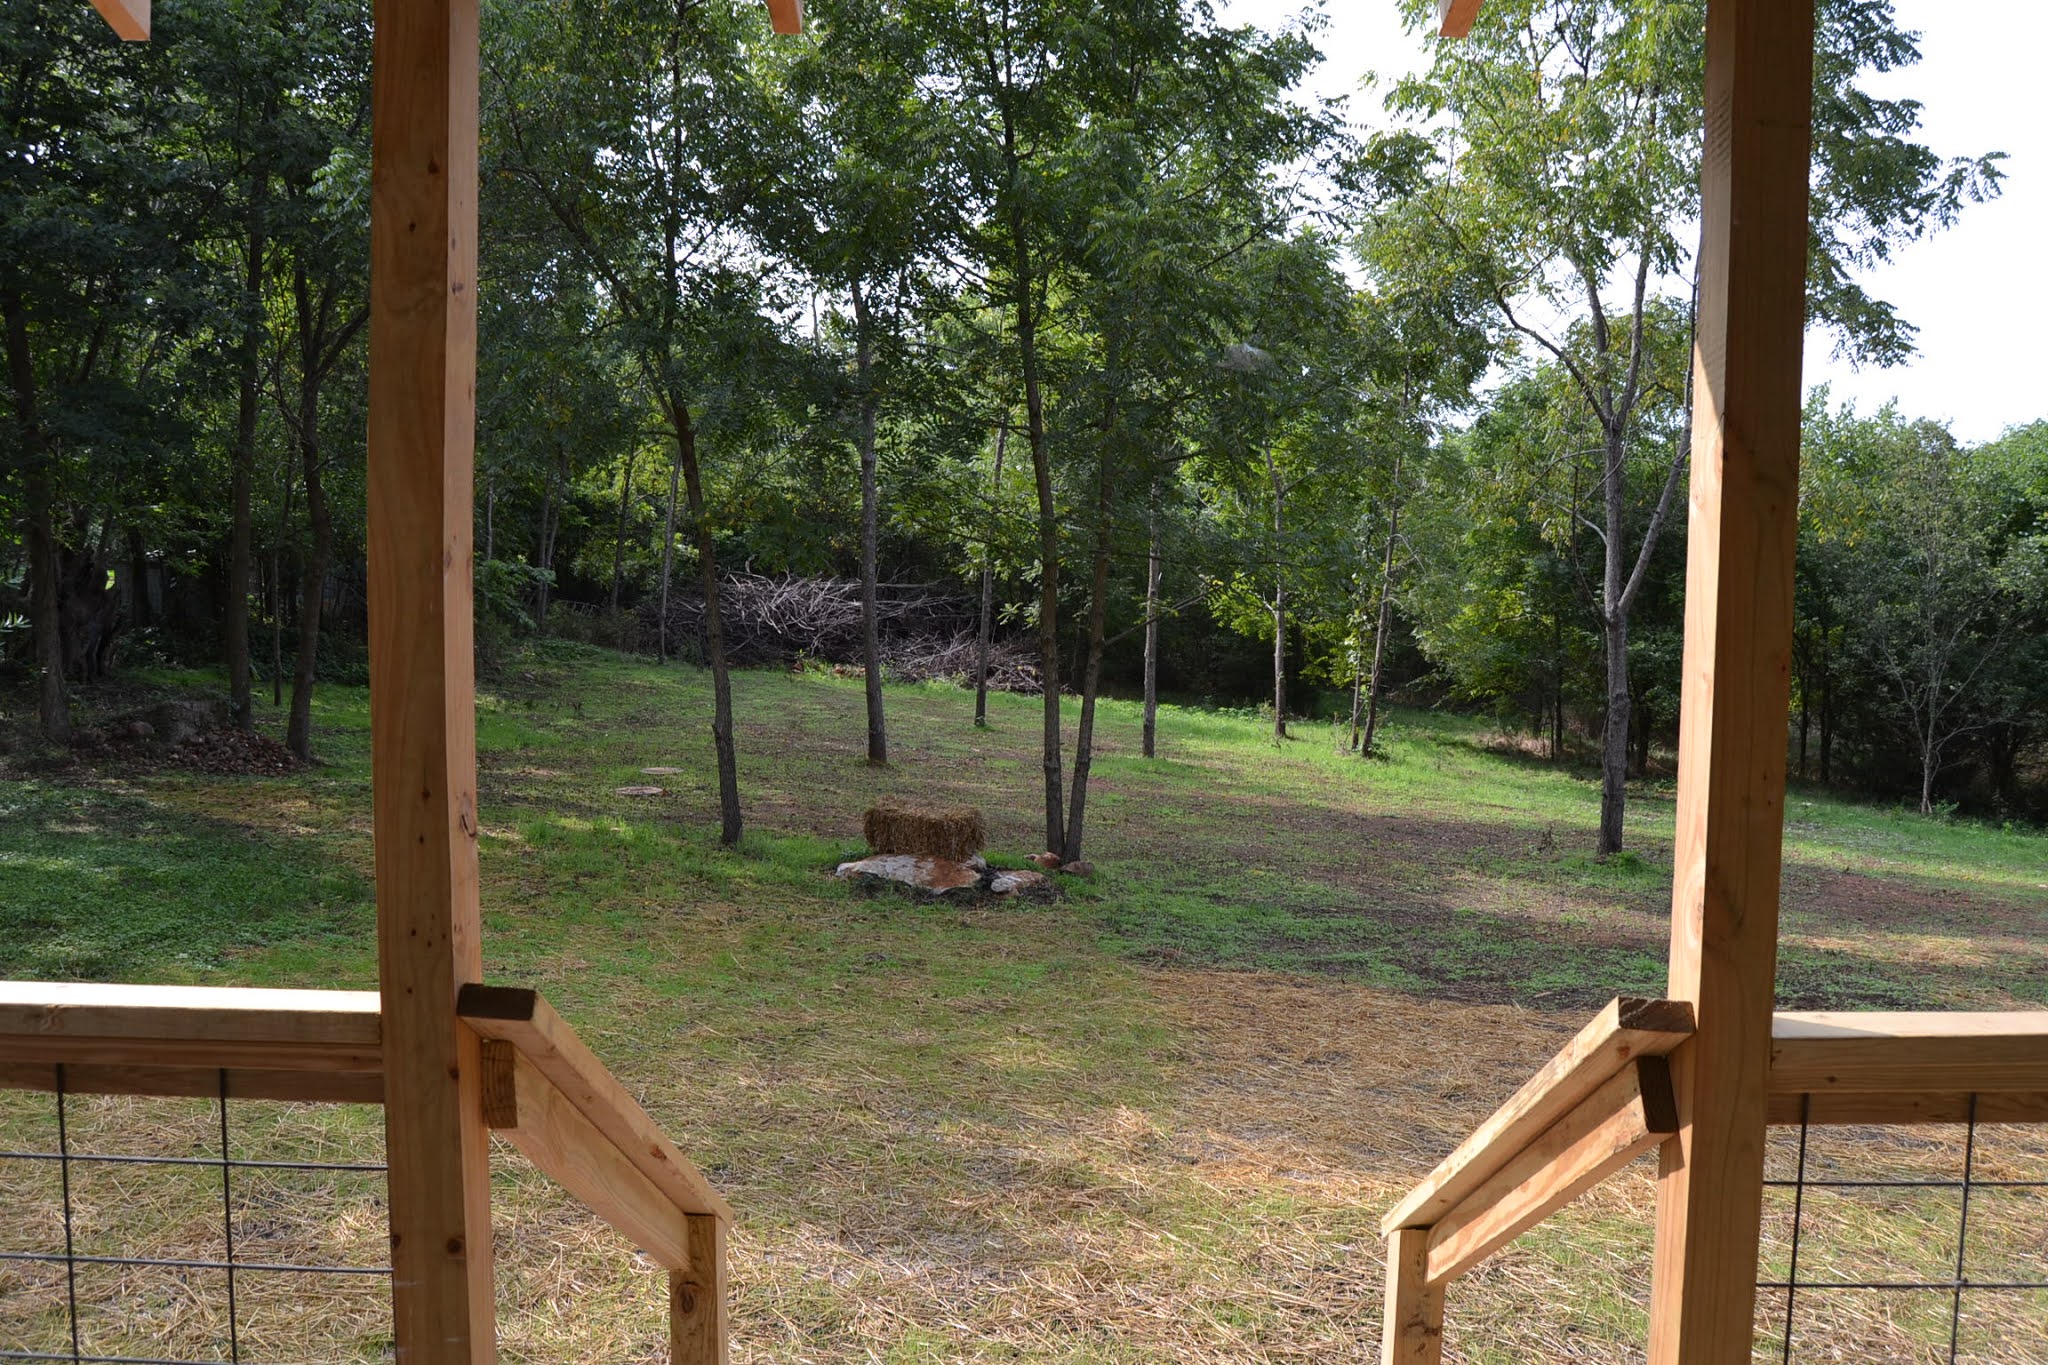
And lastly, this is the view from the porch.

Monday, April 11, 2016

Batch #2 Of Vintage Planters To Sell -- Metal Pails

Batch #2 of vintage planters this year:

If I decide to add color to planters this year,
I am going with red, shades of green and gold.

This batch has a couple of common themes.  Small pails and succulents. After sticking a horse shoe randomly in one of them, I am in love with the idea.

The black stripe was just begging for an embellishment, so I purchased some waterproof stamping ink.  It has kind of a chalk look to it.

And made my second fairy garden of the year.
This fairy is Dutch and has a little dog.

Thursday, May 14, 2015

Vintage Chalk Painted & Stamped Planters

Vintage chalk painted and stamped planters -- it is my thing this year.  I love the look.  I love doing it.  I love what I do.  It just doesn't get any better than that.
 
I am still using my antique alphabet stamps on some,
but I started to incorporate decorative stamps too. 

I "make" my own chalk paint most of the time,
so I can choose colors that I really like.

Chalk paint does surprisingly well outside.
If you try stamping planters, look for a waterproof ink that
will last outside.

These are some that I stamped several weeks ago,
but I just finished planting with succulents.
 
I am still creating fairy gardens as the ones in my booth sell.
 
I think if I was a fairy I would live under a forget-me-not plant.

Don't these tiny blooms look like a fairy wonderland?

A few more of the plants I've sold recently.
The photo does not do them justice.

Monday, April 20, 2015

I'm Out Junk Container Gardening (Finally!)

 Mondays are my gardening day, weather permitting.  Now when my father talks about gardening, he is talking vegies.  Now when I "garden", it almost never means vegies.  But it could mean digging out dandelions, edging, trimming bushes or trees, planting or tidying. 

And this time of year it always means planting succulents in vintage containers for resale.  I have an "outdoor booth" where I sell fun vintage yard and garden décor,
which includes a booming business of succulents in junk containers.

This colorful reptile has been a resident in our yard for at least a year.
He made an appearance today when I was outside.
Our cat thinks he is part of a catch & release program.
About once a week the cat finds the garter snake,
chases it around for awhile and then lets it go.
Fun for at least one of them.
 
So the temps have finally moderated enough that I
braved planting my first succulents of the season.
Who knows where I got this faux wringer washer planter.
 
I added the enamel pan planter
and a nice helping of rusty junket.
Perfection.

Three more gems from the Hastings trip.
Yes, I got my antique stamps out for them too.
See more of my planter stamping obsession here.

These are nice small hanging chicken feeders
(in their old life).

If it ever stops raining,
I'll be able to get some more junk planters potted up.
 
These plants are at my outdoor booth at the Rusty Chandelier

Thursday, March 26, 2015

Using Antique Alphabet Stamps On Vintage Garden Junk

I have two sets of antique alphabet letters, I don't remember where I found them.  But I have gotten a lot of use from them through the years.

Recently I got my antique letter stamps out for my "Flower Pots" box.  (If your try this make sure you use a waterproof ink pad.)

Then I thought it would lend a quirky look to my tin can planters...
(see my other stamped tin can planters here.)

and other metal planters.

I had an old metal milk box that had not sold, so why not try the look on it?

That made me think of another milk box I had in the shed...

Where will it end?

Friday, March 20, 2015

Painting Tin Can Planters

At a recent auction I won some hardware that was stored in tin coffee cans.  I didn't want to waste the coffee tins, so I drew inspiration from one I made last year, see that cutie here. 

I like the flat finish of chalk paint on the metal.  I also liked the rusty, rustic look.  I figure if I paint them now, they'll have a couple of weeks to get a good rusty patina on them before planting.  I also had a bunch of little buckets that were a little too shiny, and they got the same treatment.

These are definitely going outside, so 1. I don't have to wash them thoroughly:).  2.  I definitely need to poke holes in the bottom for drainage.  One quick  coat of paint is all that is needed.  I like mellower colors for the more primitive look.  If the cans were not plain tin to begin with, I spraypainted a quick coat of white on them first before painting.

I used vintage alphabet stamps and vintage stencils to tattoo some gardening words on to the tins.  I'm almost ready to go blooming crazy.

Tuesday, March 10, 2015

Making Messy-Mossy Terra-Cotta Pots Tutorial

A few weeks ago I picked up a bunch of way-too-new-looking terra-cotta flowerpots.
They were begging to be aged.

A messy project (and a good dose of hyphens) is a great cure for the
not-quite-end-of-winter-blues.

  I started by brushing on some
plaster-of-paris mix on top edges of everything.
Giving them some texture and simulating mineral build-up.
 
I did a faux-fungus look by using different shades
of green and some brown paint --
 overlapping the colors somewhat.
 
I liked the ones best where I didn't get too heavy-handed.

To put the proverbial icing-on-the-cake
I dry-brushed an old wooden box
(using vintage alphabet stamps for the lettering)
 to corral this small herd of terra cotta pots.

Tuesday, December 23, 2014

Recycled Old or New Christmas Cards

We send out a family newsletter each Christmas to people who live afar.  For the people who live closer and need a Christmas card....this year I was rifling through the Christmas totes and found unused ugly Christmas cards.  I couldn't let these represent my family.

I cut old book pages a little smaller than the front, glued on with spray adhesive  (do this outside or in the bottom of a lined trash can).  I already had the tree stamp and the embossing powder.  If you have never done the embossing powder then read a tutorial.  I "heat" mine on top of the toaster.  Regular ink stamping would work too.

My cards were unused.  For used cards you could also adhere a piece of blank paper over the name or entire right interior page.  For used cards you also need to worry about finding an envelope the right size.

Blue Hearts & The End Of My Blog

Early on during the corona virus, I did this project. When we put scalloped wood trim on the guest cottage door, we had some of the trim ...